Passly Activation: Desktop/Laptop (Windows App Token Device)
 Updated
by
Emma Stone
Updated
by
Emma Stone
Passly Activation: Desktop/Laptop (Windows App Token Device)
Follow these instructions after reviewing Passly First Time Setup: https://help.technosis.biz/passly/passly-first-time-activation-start-here
Setup your Windows 10 App
2FA is required by all Apps that, in the future, you will access using just the Passly Master Password. To prepare for this you must set up 2FA for the Passly app itself. The following steps will complete that and finish your onboarding activation process.
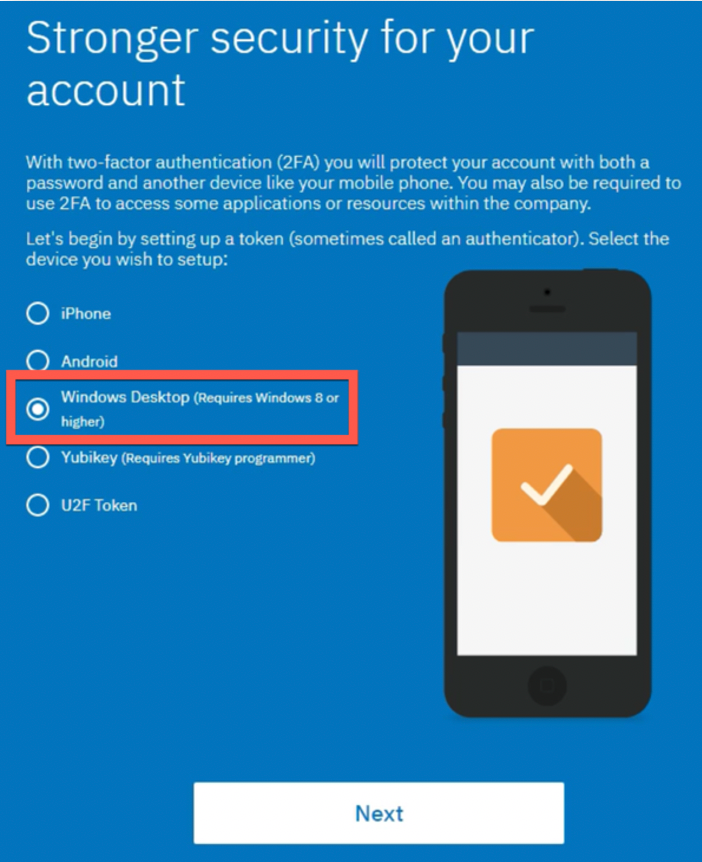
1. Select your 2FA Recovery Device
When following the activation welcome email from a computer, you will be directed to a menu of options to associate a Passly account with a 2FA token. You will be given a menu of options to associate a Passly account with a 2FA token. There are currently 4 authentication options available – iPhone, Android, Windows Desktop and U2F token. Simply select Windows Desktop and click “Next”.
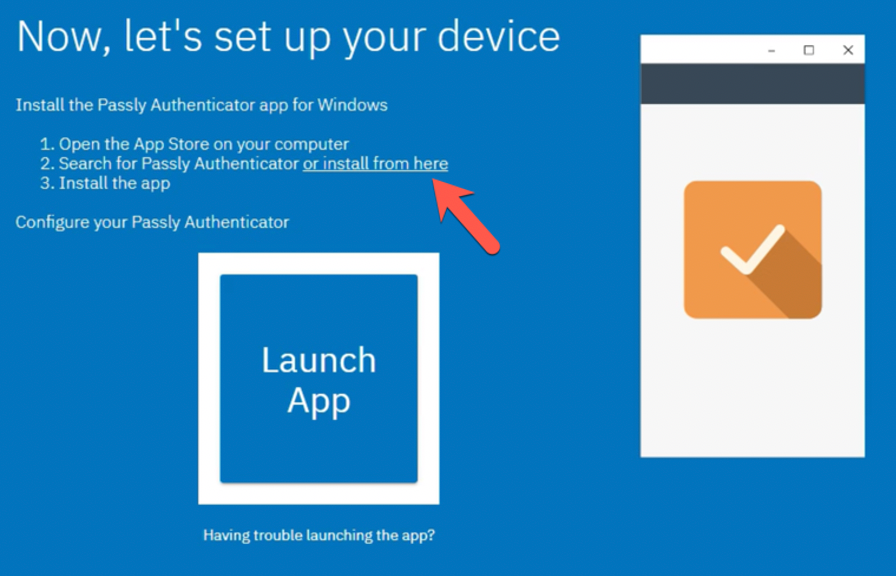
a. Click to follow the “Install from Here” option to be taken to the Microsoft Store website.
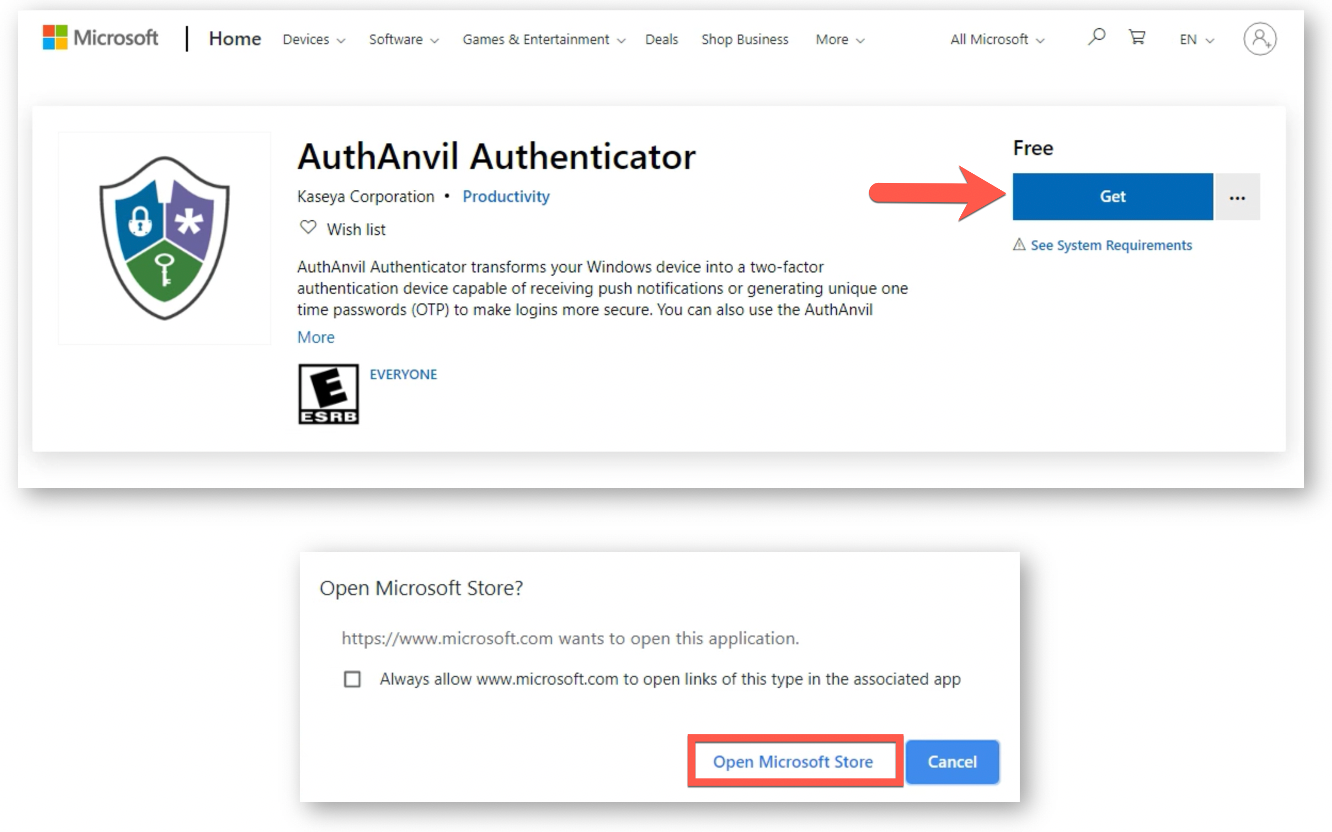
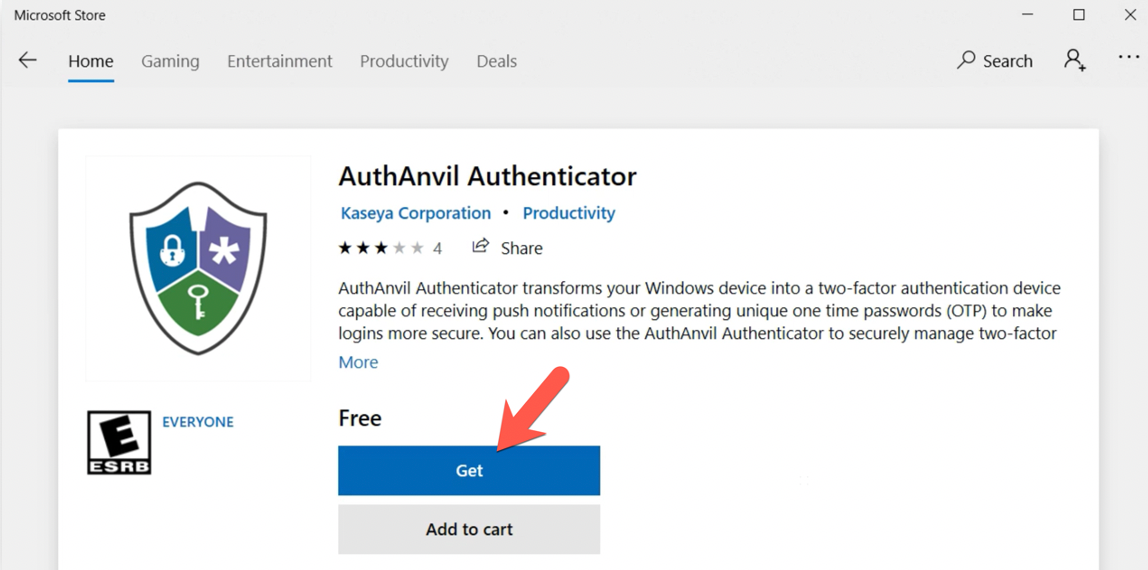
b. Click “Get” next to AuthAnvil Authenticator. (Note: The application name switch to Passly is relatively recent, and Microsoft has not yet updated the name.
c. If prompted, Open the Microsoft Store.
d. From within the Microsoft Store app, click “Get” next to AuthAnvil Authenticator:
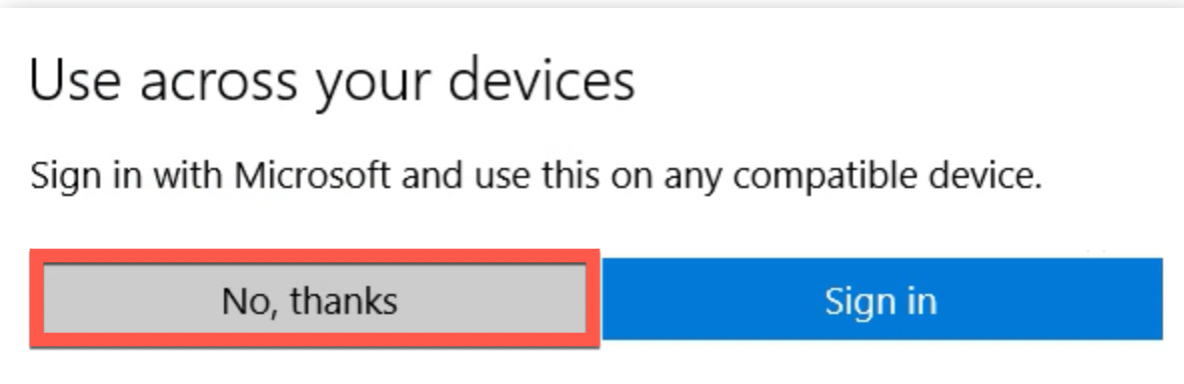
e. If prompted to sign in/use across devices, simply select “No Thanks” and wait. 
f. The download will begin, wait until it is completed: 

g. Then click “Launch”

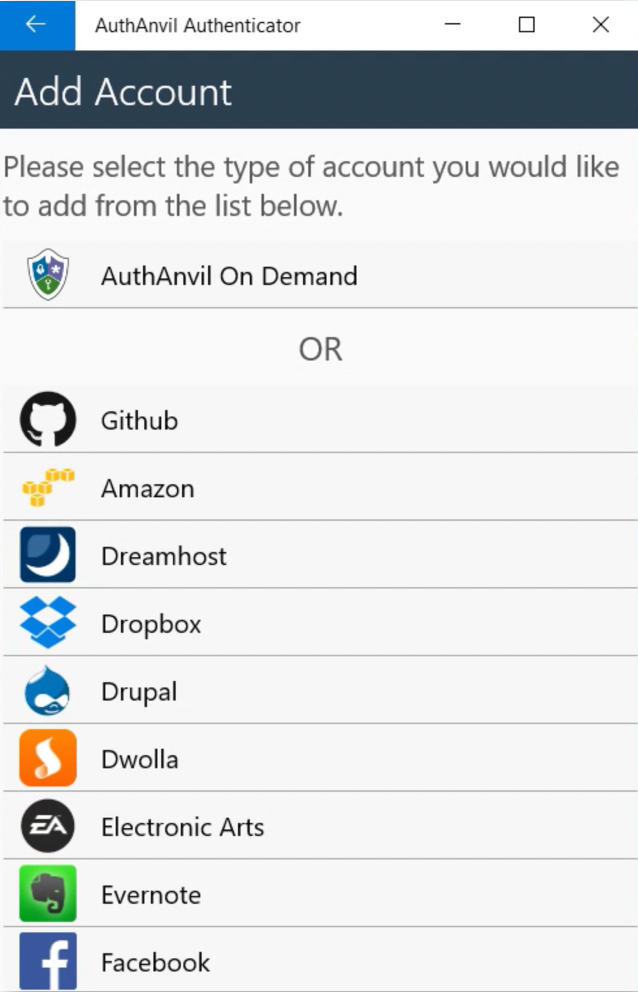
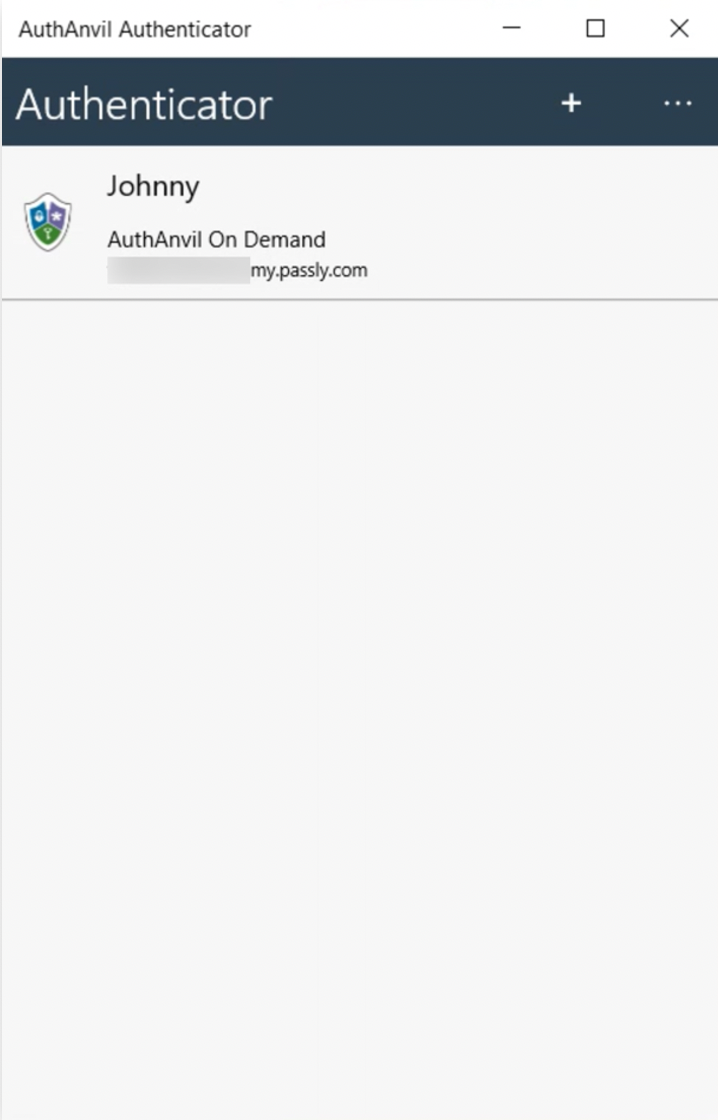
h. The app will launch on the “Add Account” screen. Do Nothing with this screen and go back to the Passly invite web page.
3. Connect your Passly account to the App
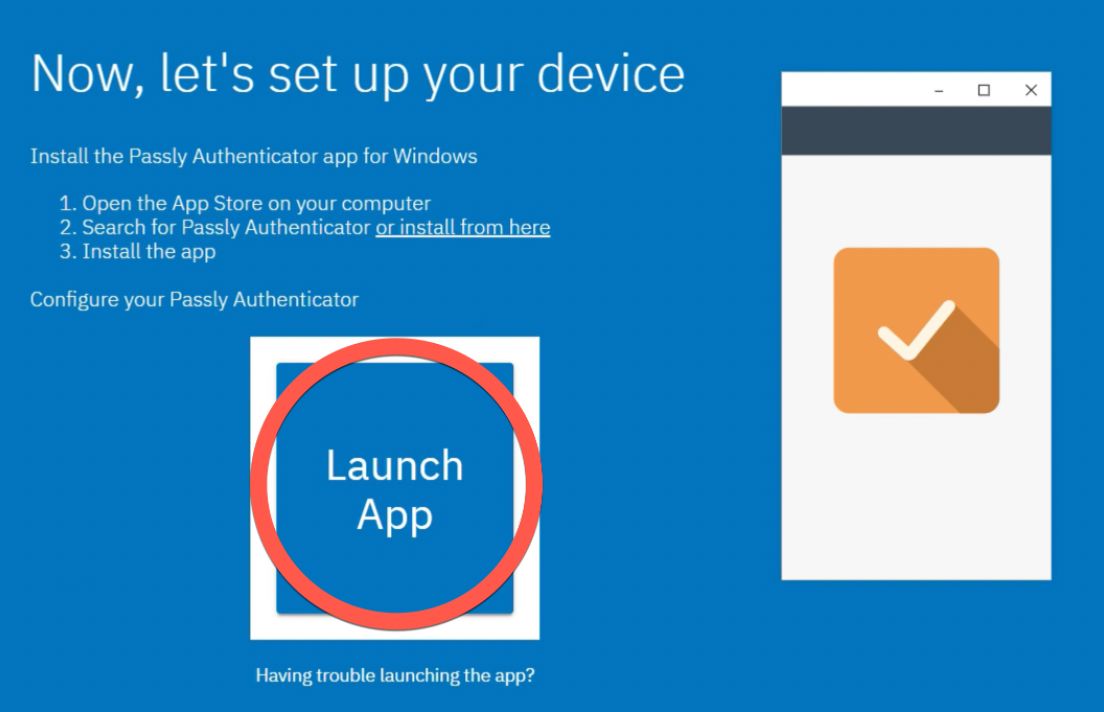
a. On the Passly activation page, select the “Launch App” option.
b. This will create a single entry in your Auth app, connected to your Passly account. Once you see it, select “Continue without Push”

c. Enter the code displayed on your app (this is your “One-Time Passcode”) into the box on the screen, then select “Verify & Save”
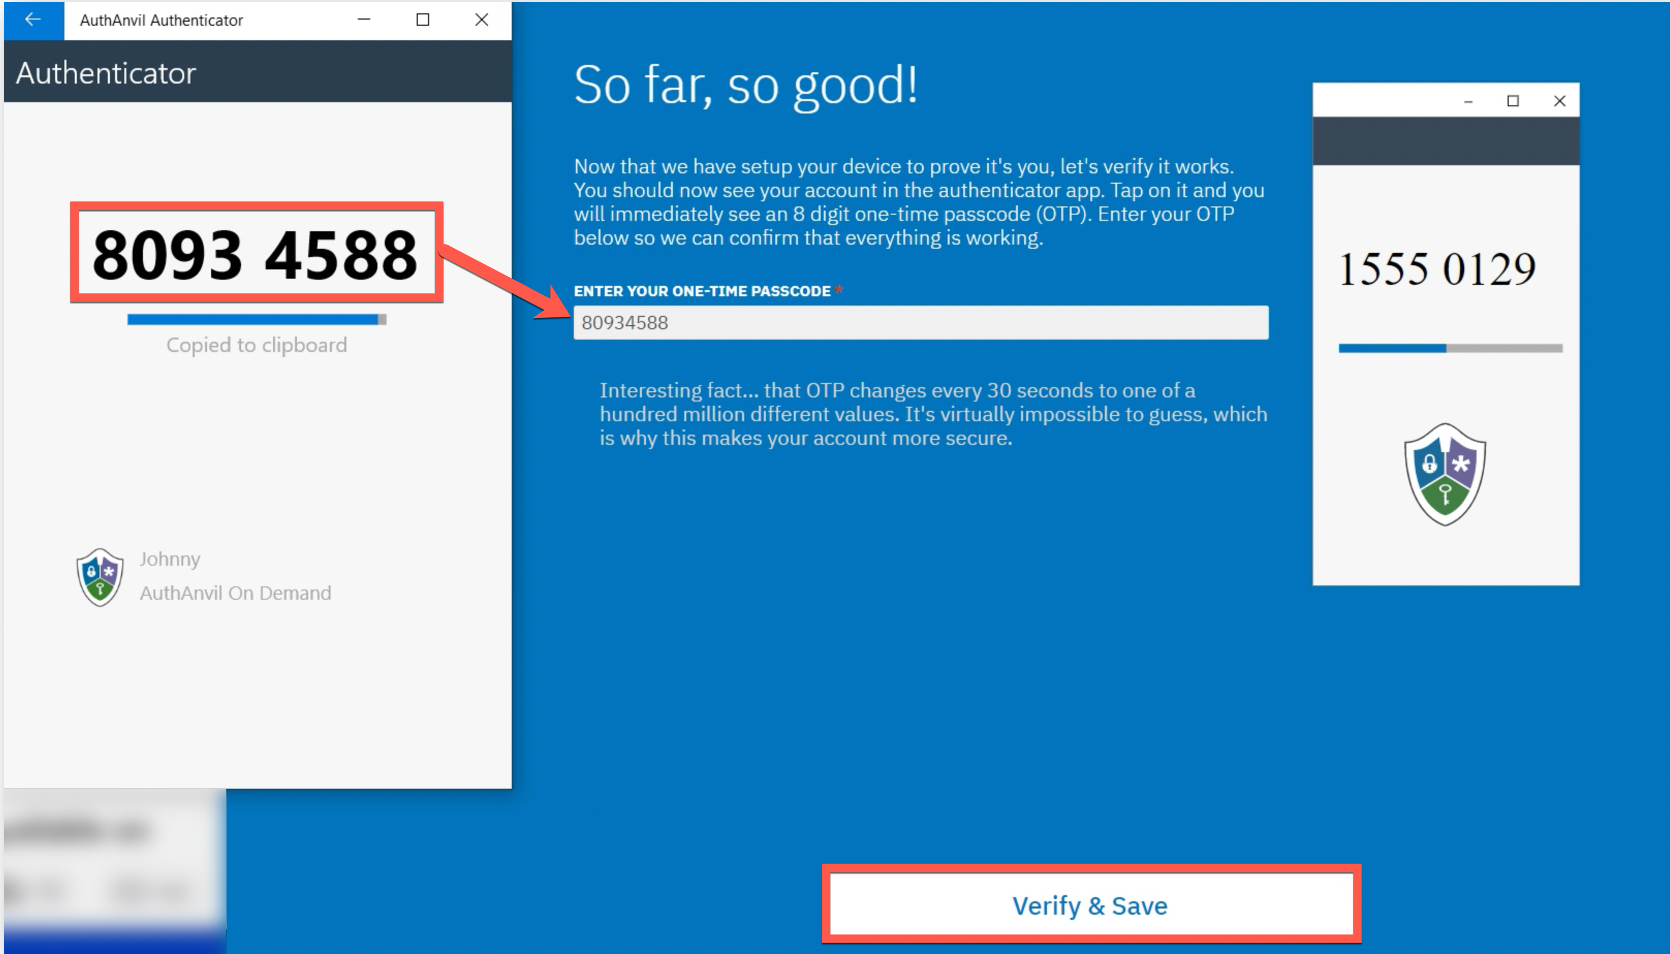
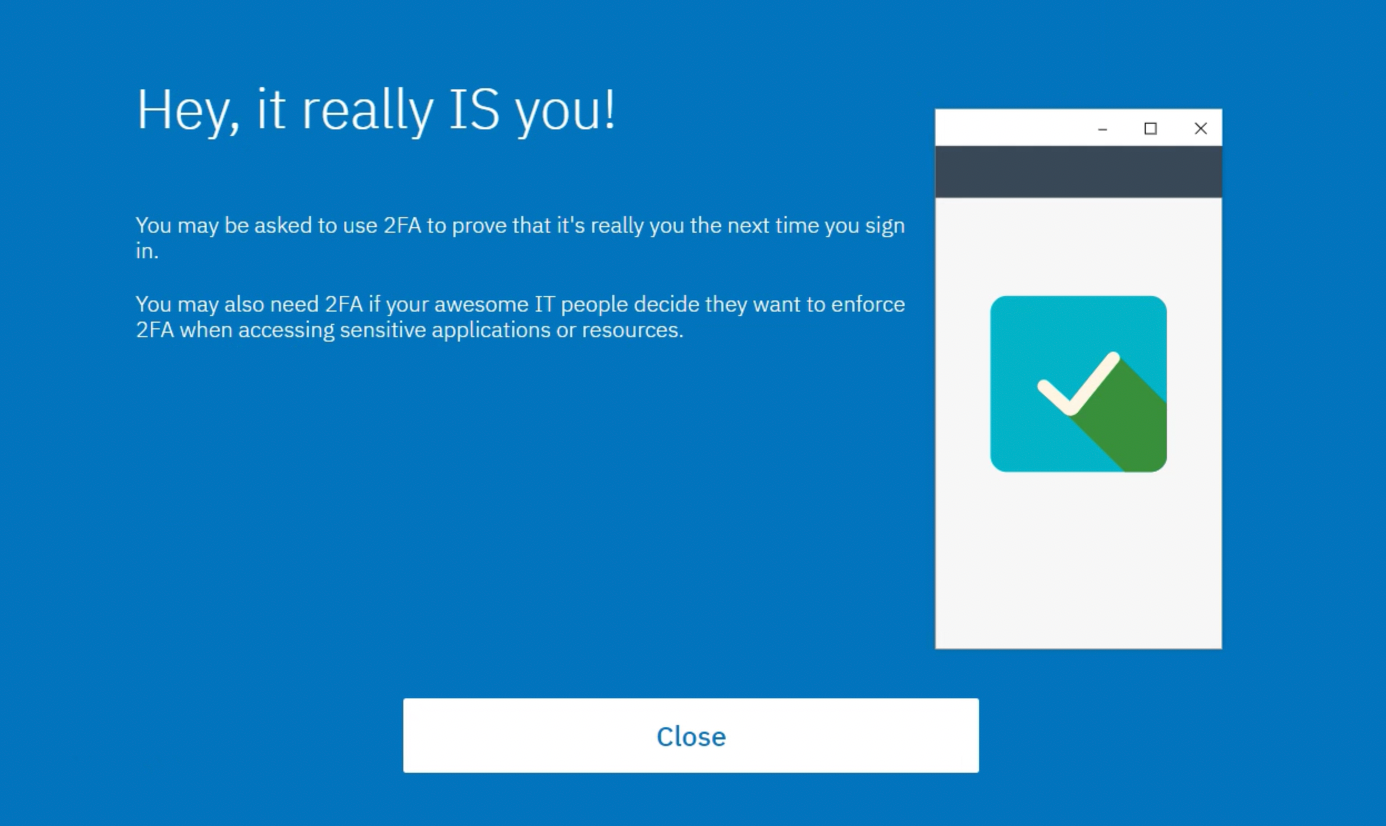
4. That’s it!
When you see this screen, you are done with first time setup.