User guide to Sophos Self-Service portal setup

Introduction and Usage
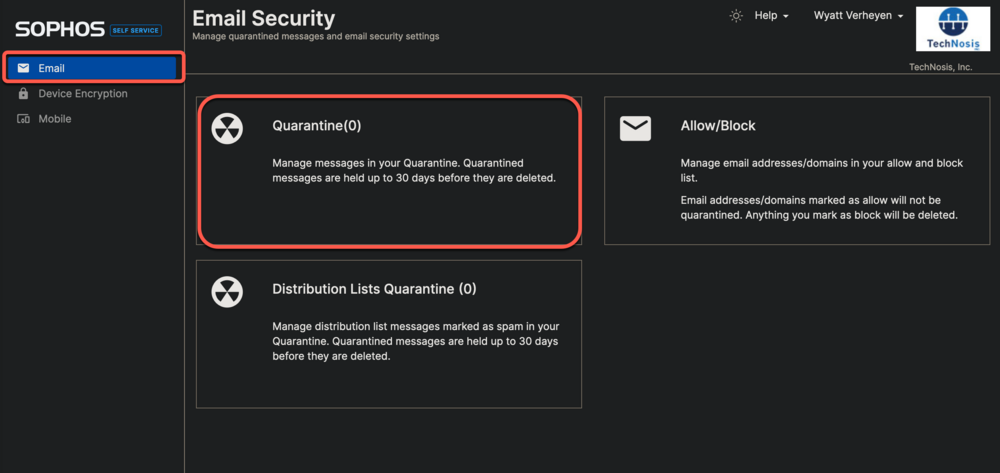
The Sophos Self-Service Portal is a user-friendly platform for managing quarantined emails and sender lists. Sophos flags emails as potentially malicious or spam and quarantines them in the portal for user review. This help article will guide you through the setup process and show you how to log in to the portal for easy access and manage your emails. You will receive a daily report in your inbox of all Sophos quarantined messages.The Sophos Self-Service Portal is an easy way for users to access and manage their list of Quarantined email messages that Sophos flag as spam or malicious, as well as their individual Allow/Block list for accepted or rejected senders. This document is a guide on how to first setup and login to that portal.
Initial setup and login
Welcome Email
1. You will get an email that looks like this:
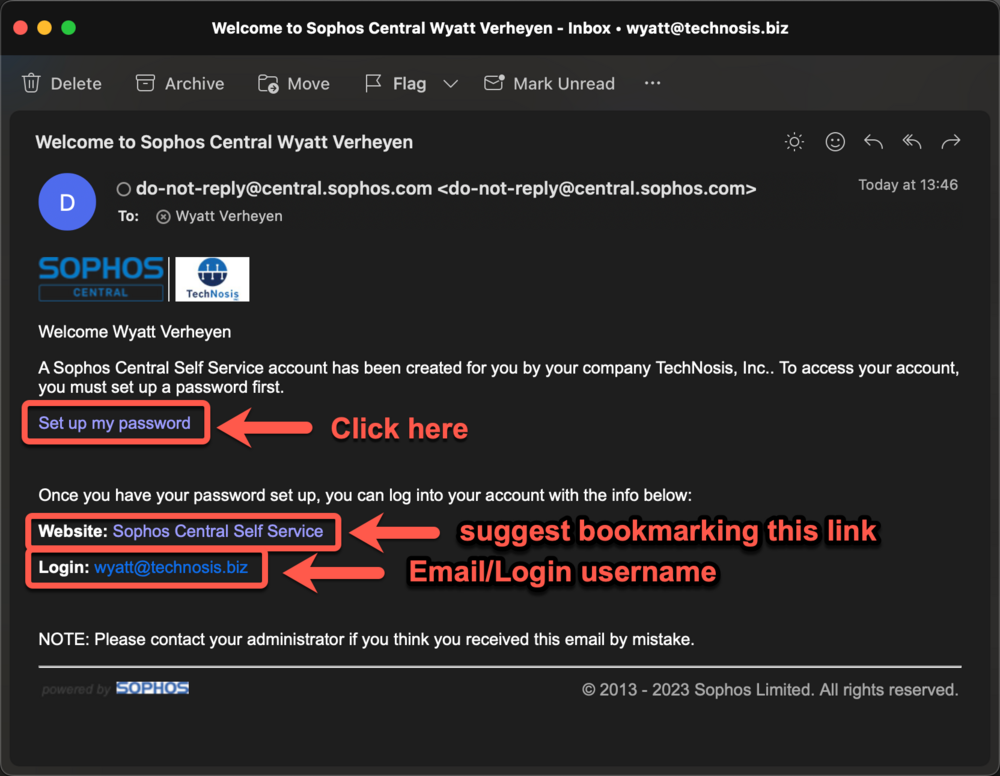
Website: https://cloud.sophos.com/manage/self-service
Password setup
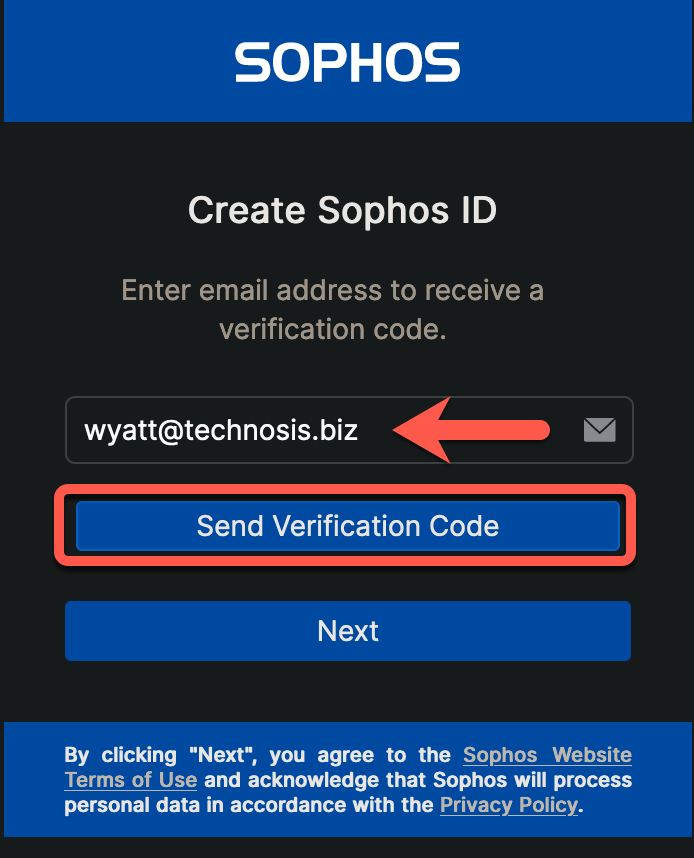
2. Once you click the "Set up my Password" link from above step, input your email and then click the "Send Verification Code" box
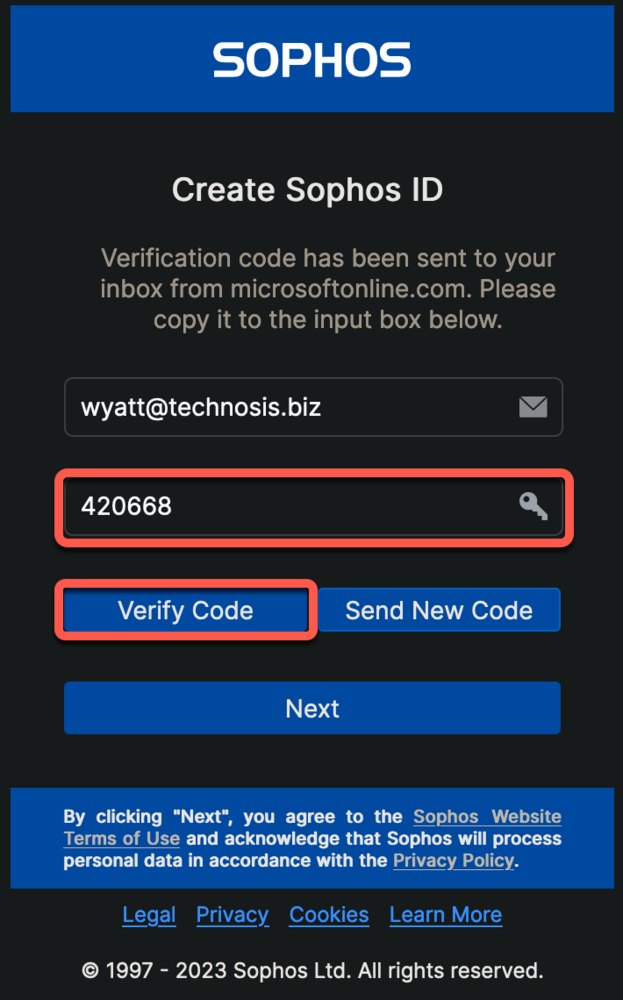
3. You will get a SECOND email with a verification code, copy/remember this
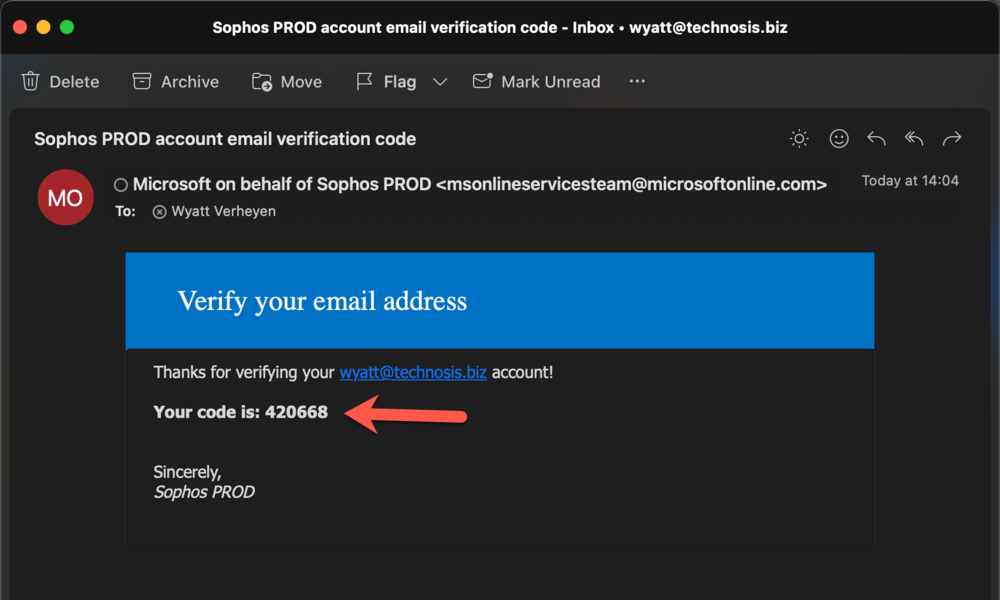
4. Take the code from above email, put it into the verification code slot, then hit Verify Code box, and then Next once it validates
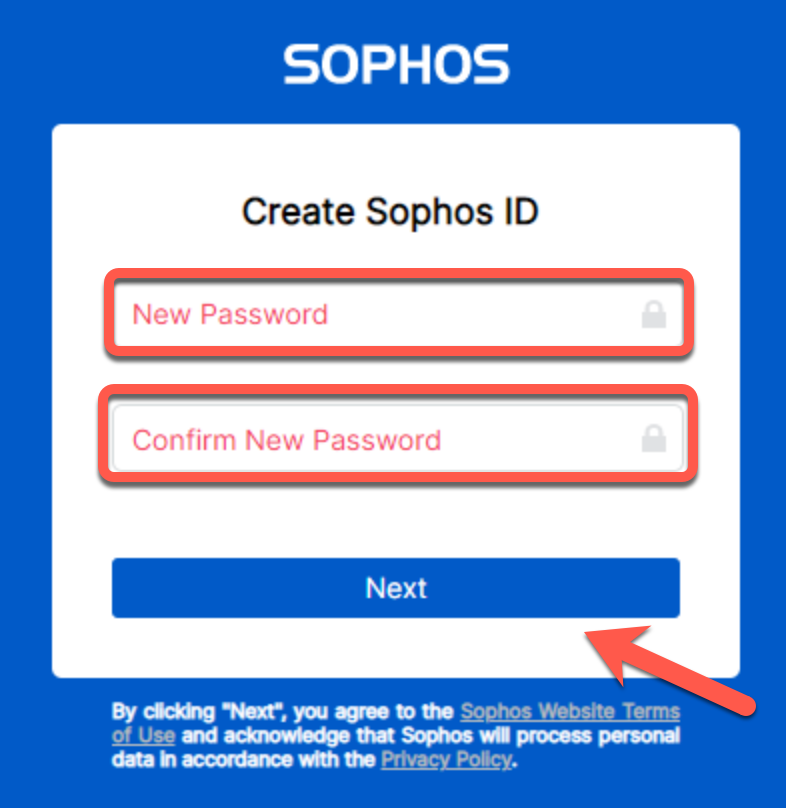
5. Input a password that will be specific to this Sophos Self-Service login portal
Post Setup Login
1. Once your initial setup has been completed, you can sign in to your self-service portal using the link in your welcome email (can also be found below), and logging in using your email and the password you just created to access your quarantined messages.Website: https://cloud.sophos.com/manage/self-service