Installing Sophos XG Firewall VPN Client - Sophos Connect

OS Compatibility: The Sophos Connect VPN client support IPSEC VPNs for macOS and winOS and SSL-VPN for WinOS. If you need SSL-VPN for macOS please see these instructions instead: https://help.technosis.biz/sophos/installing-mac-os-ssl-vpn-client-for-sophos-xg
Pre-Requisites
To use an SSL VPN with macOS, you will need a couple of pieces of info before proceeding:
- Mac Compatible SSL VPN software. We recommend the Viscosity VPN software based on openVPN.
- The web address of your Sophos user portal; URL will look similar to:
https://portal.companydomain.com:1443
https://proxy-st.companydomain.com
https://proxy-st.companydomain.com:1443
https://ipaddress:1443
- The ActiveDirectory Domain name that you are connecting to if you are using a Laptop in and out of the Office for full network access.
- Your ActiveDirectory username in short-form without the domain. This will be one of the following:
Firstname, First.Lastname, or FirstinitialLastnameThis will likely be the same name you login to your PC with, in the form of "Domainname\Username" or "Username@domainName.
Download and Install the Sophos Connect Client
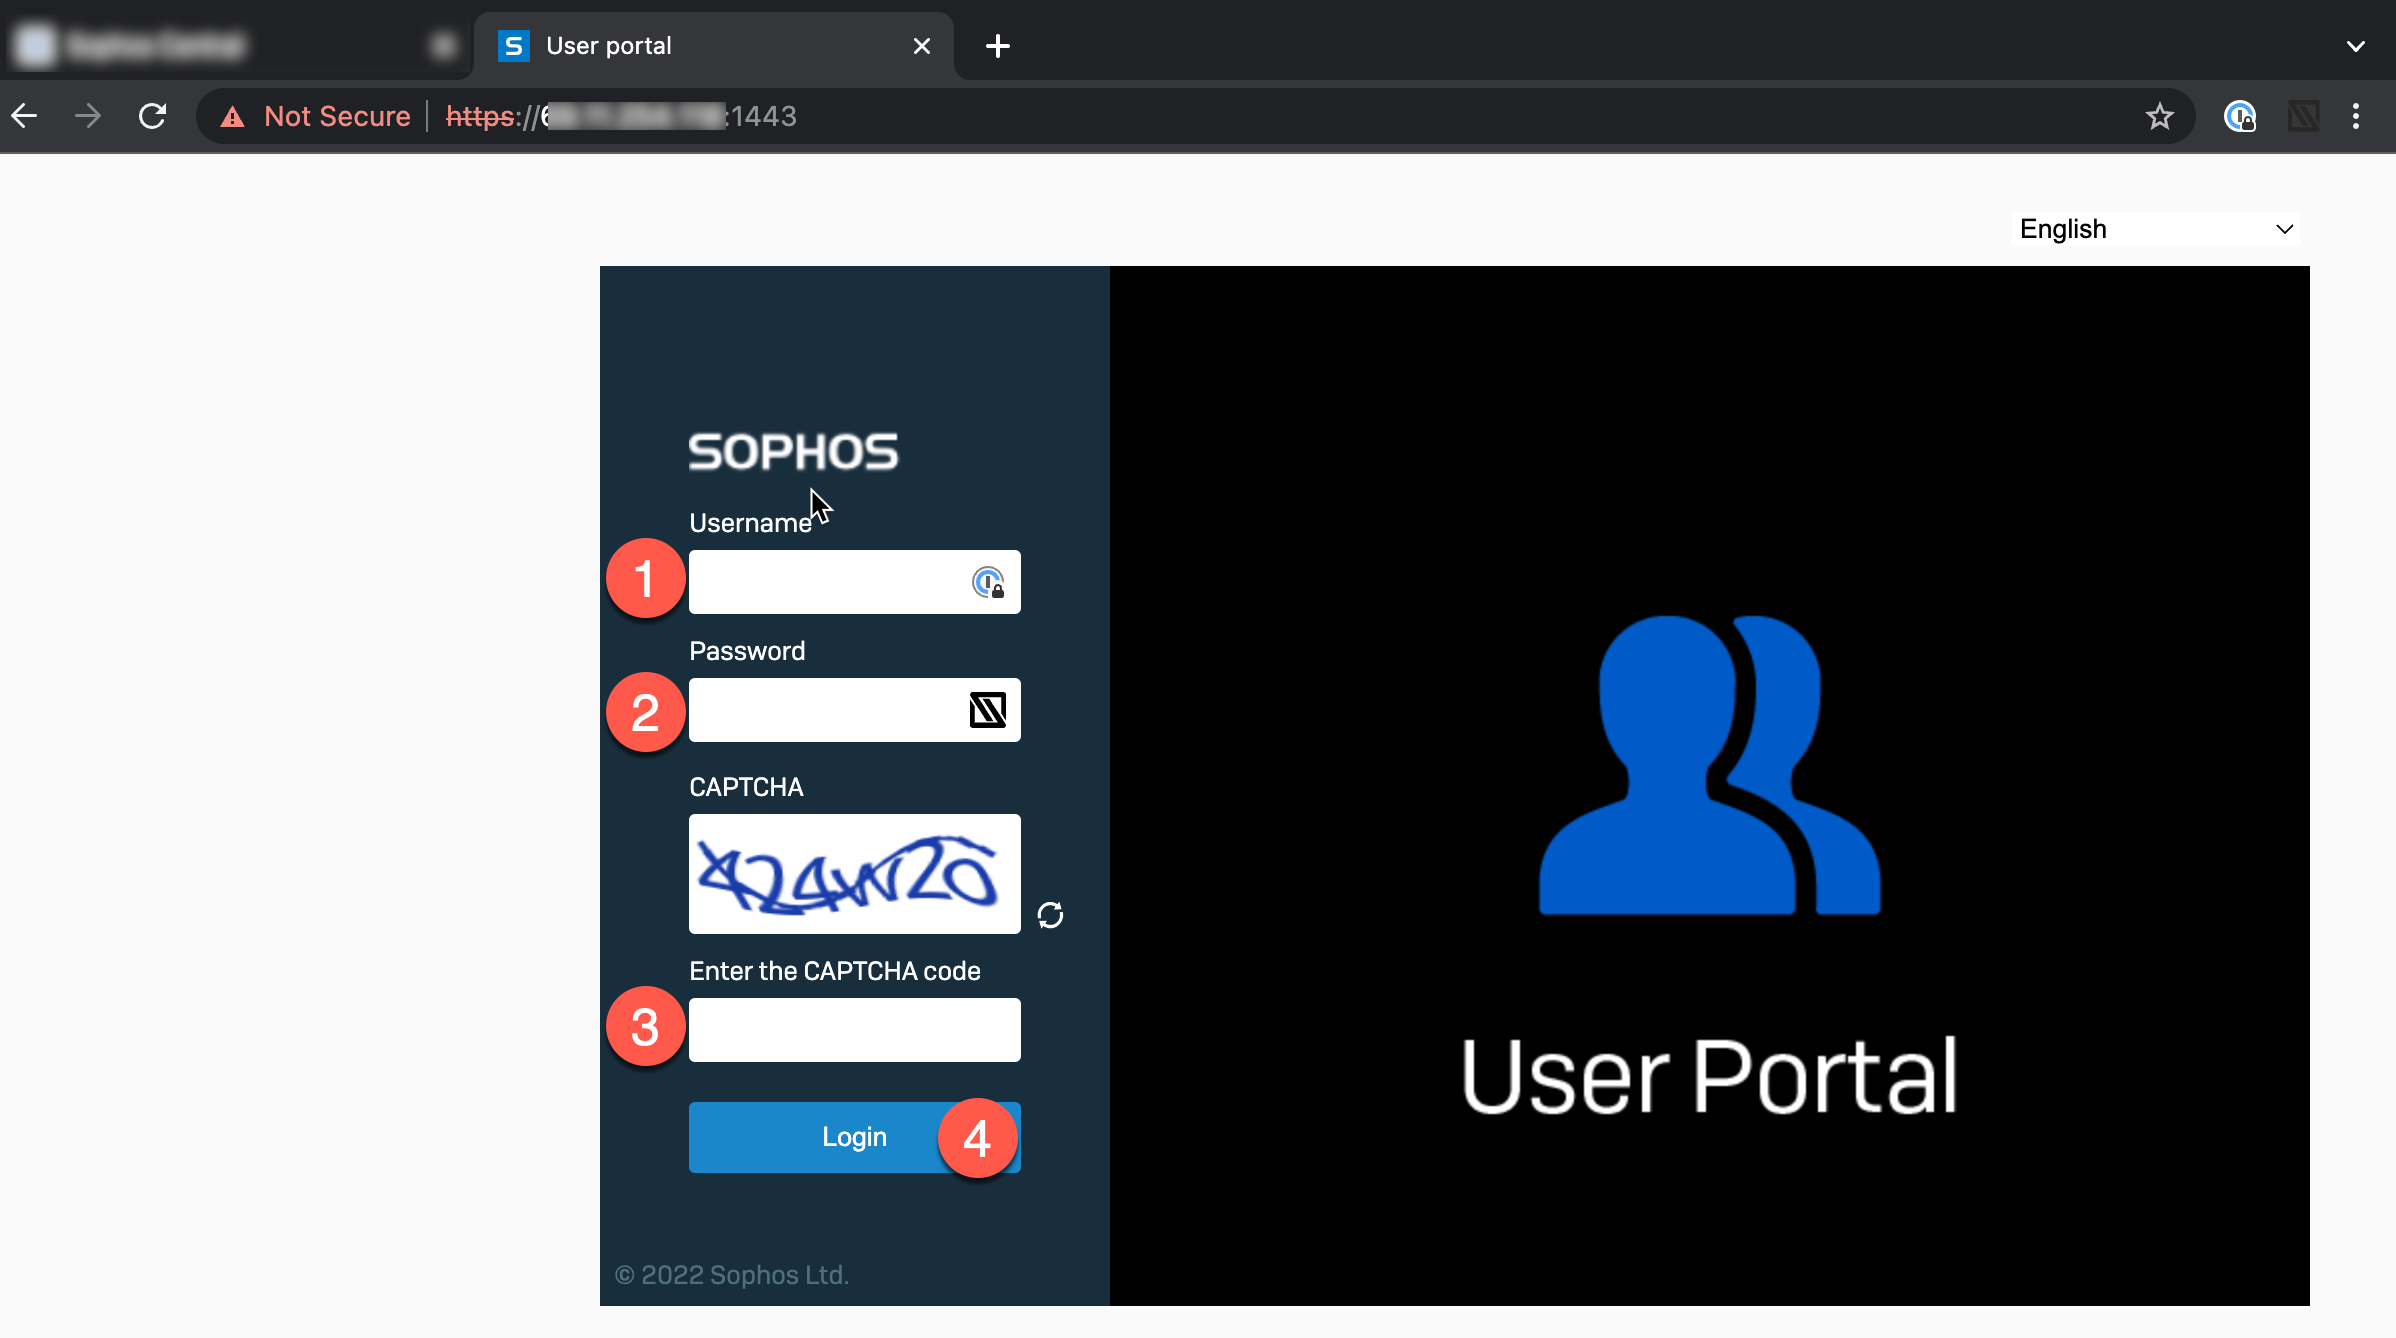
- Login to your VPN Portal (Your username and password will be the same as your office pc).
Google Chrome is recommended for this step if you have a self-signed security certificate. With a self-signed certificate, you will receive a security certificate warning you will need to use "advanced" > "proceed" to go around the error. This is normal for self-signed free certs.
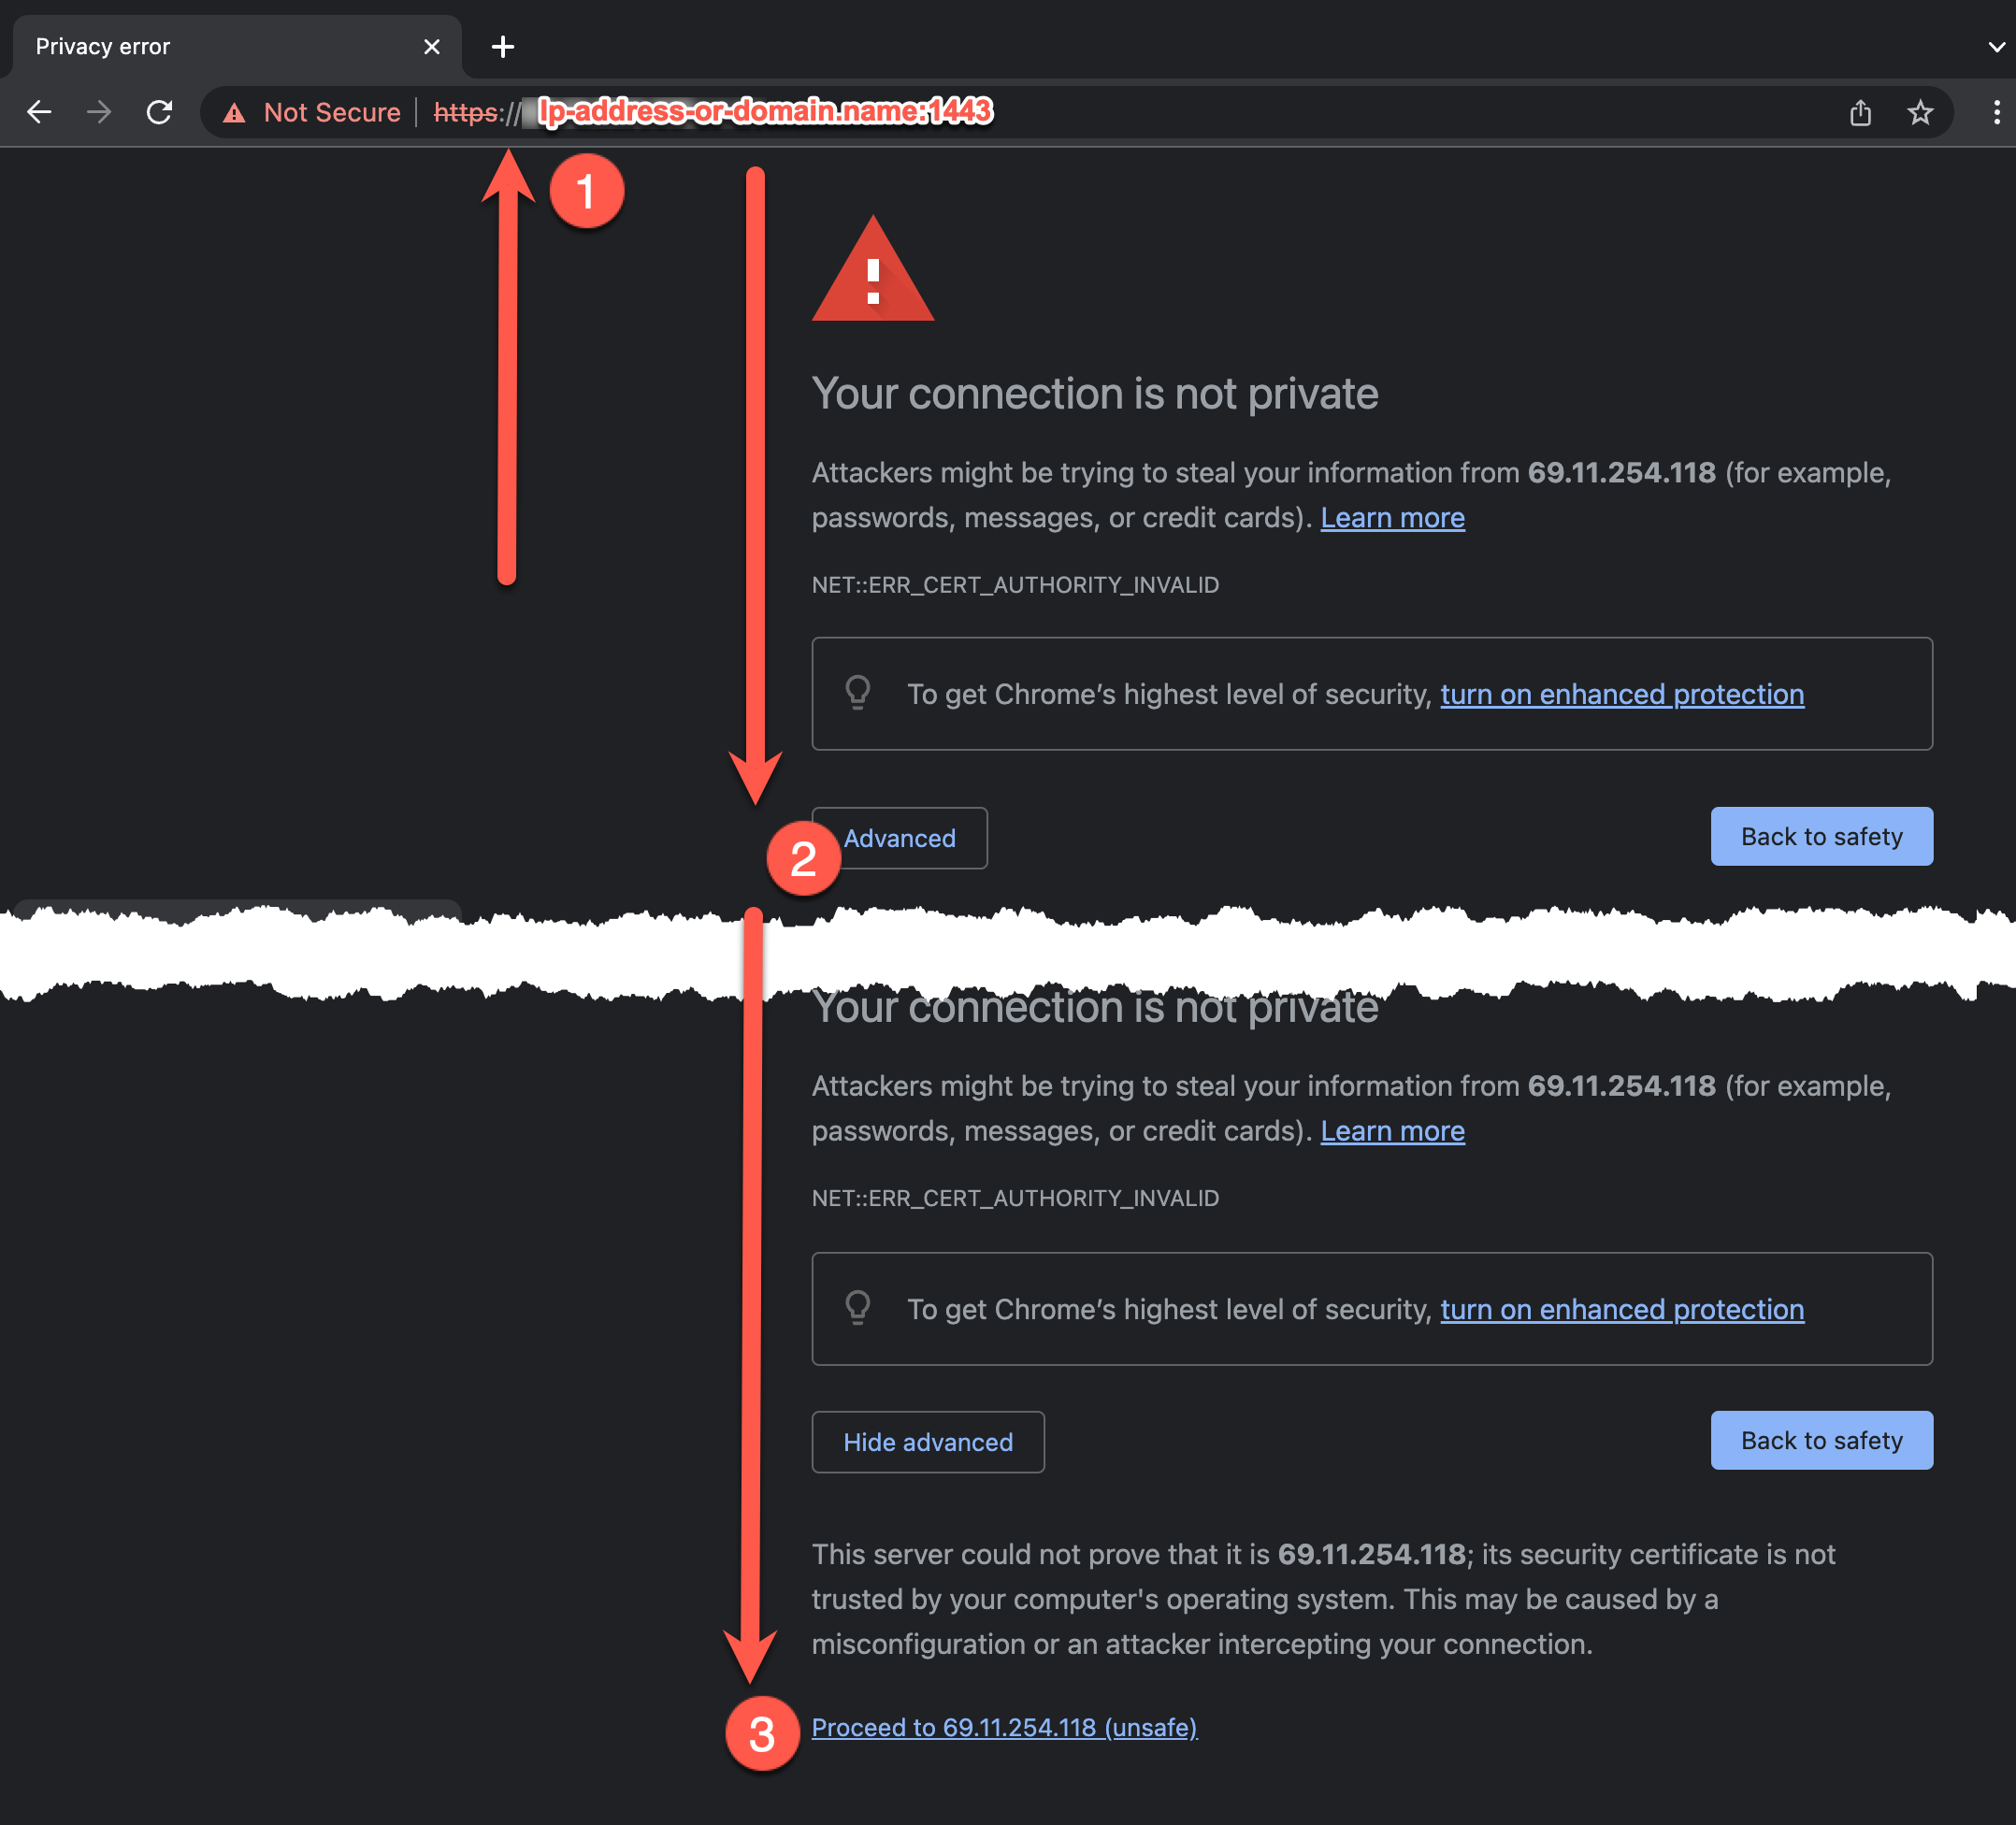
If you get the warning but don't get an "advanced" button, you can still bypass the warning by typing "thisisunsafe" on your keyboard; you won't need to press enter, and the browser will move forward to the login page.
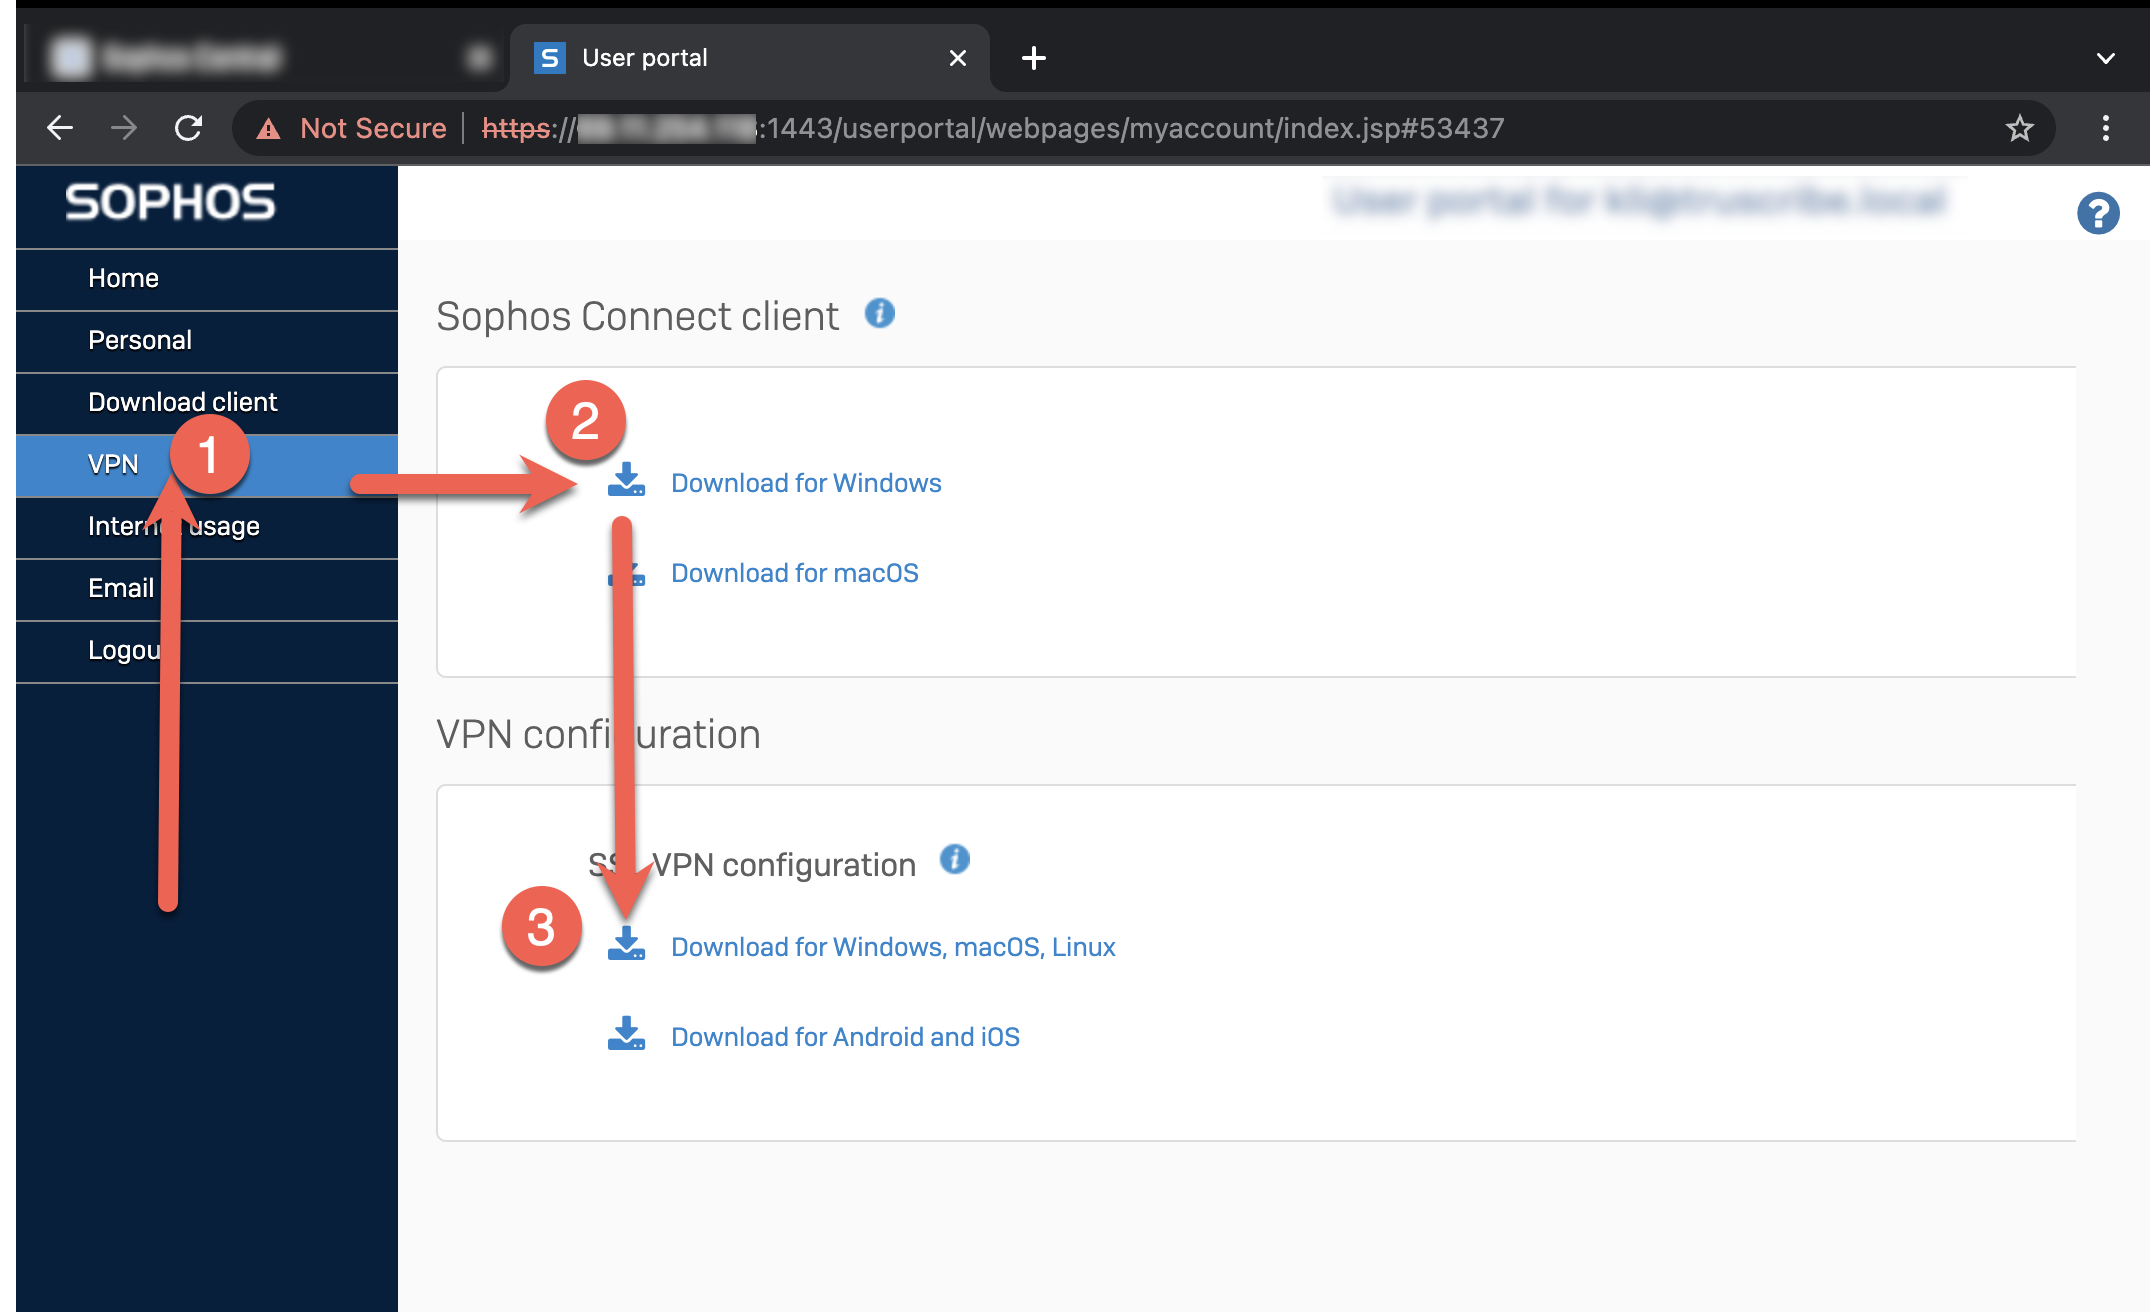
- Download Sophos Connect Step 2, and the configuration file Step 3 on the following screen.
- To install Sophos Connect on Windows, do as follows:
- Open the installer. Click the downloaded file to install the Sophos Connect client on your device.
- Accept the license agreement and click Install.
- Once the installation is complete, click Finish.
- You can see the client on your desktop.
- Double-click the client. You can then see it in the tray in the lower-right corner
- Import the configuration file to the client
- Click the Sophos Connect client on your endpoint and click Import connection.
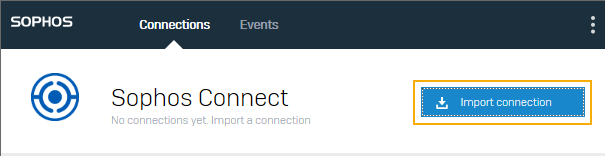
- Select the
.ovpnconfiguration file you've downloaded.
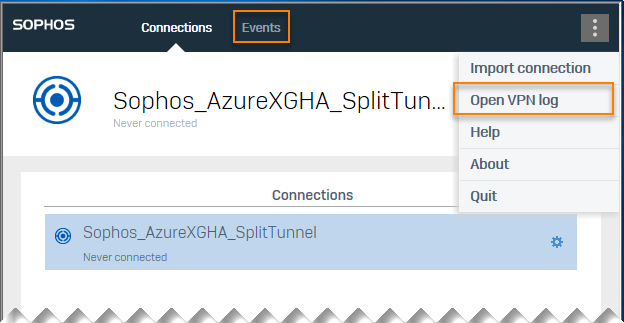
Here's an example of an imported connection: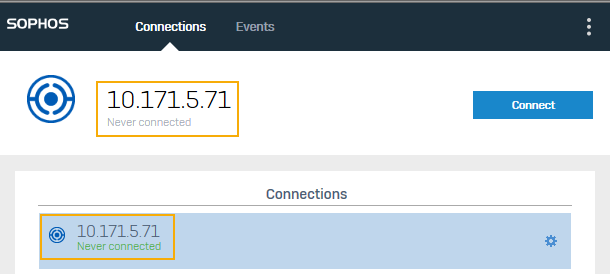
If the Sophos Connect software was already installed on your computer, you might have to Import an SSL connection from the user portal. Click Import connection on the Connections page. Browse for the .ovpn file and open it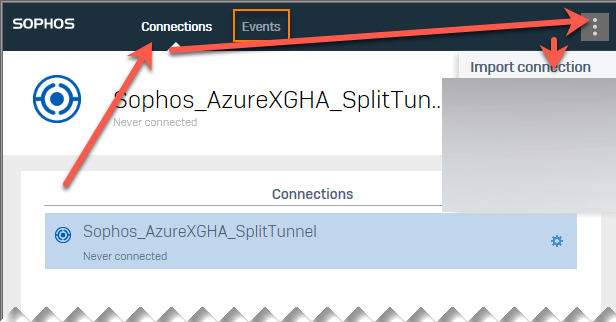
- Click Connect to sign in.
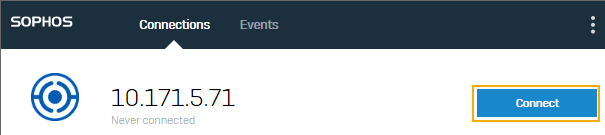
- Enter your user portal username and password.
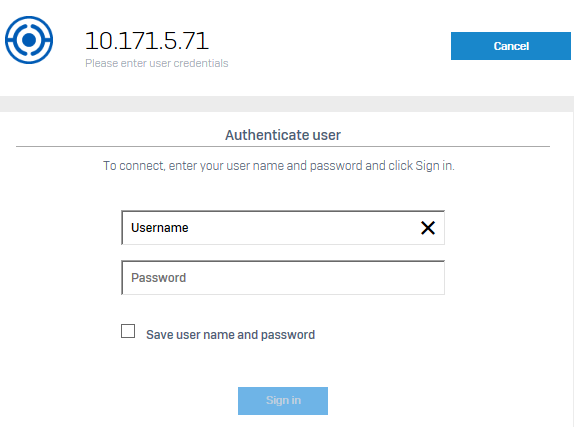
- Enter the verification code if your organization requires two-factor authentication.
- Click Sign in.
- Click the Sophos Connect client on your endpoint and click Import connection.
- Enter your username and password and click Sign in.
- If your firewall administrator has configured a One-Time Password (OTP), in addition to entering your username and password, you must enter your six-digit OTP passcode. You'll see a third input box (under username and password) where you enter the OTP passcode.
- If your firewall administrator has configured mixed-mode two-factor authentication (2FA), you'll see a third input box (under username and password). You must enter one of the following words:
push,phone,sms, or enter a DUO token.
- If you're facing connection issues, do as follows:
- To investigate the cause, click the Events tab or click the menu icon and select Open VPN log.
- You can also contact your IT administrator or firewall administrator for further assistance.
The connection to the remote server is established. The image below shows a successful connection:
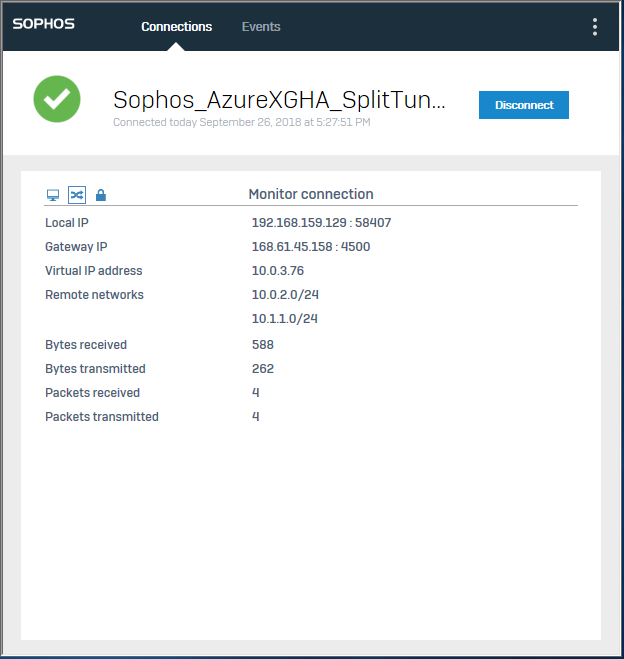
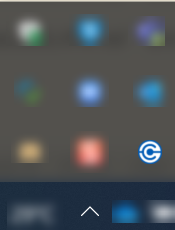
If the connection is successful, you'll see this icon on the taskbar:
Advanced Setting for Domain users with local firewall active
- Advanced Settings if you Firewall Blocks full connectivity
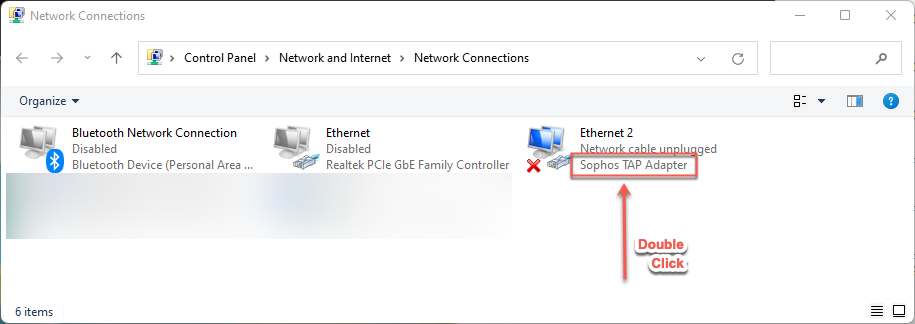
For some installations, if you are a heavy user of network connections and your firewall status is normally "off" for domain connections and on for Public and Private connections, you will need to perform these additional steps.- Launch the Windows Network Adapter settings with this sequence of commands
- Press Win+R.
- in the run dialog box type "ncpa.cpl" without the quotes
- Press Enter -or- Click OK
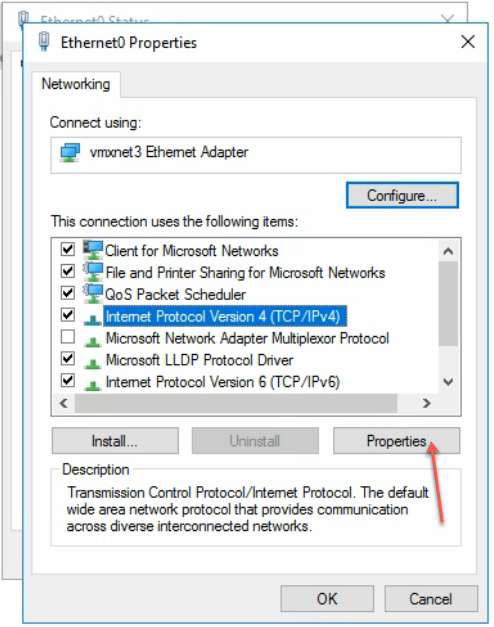
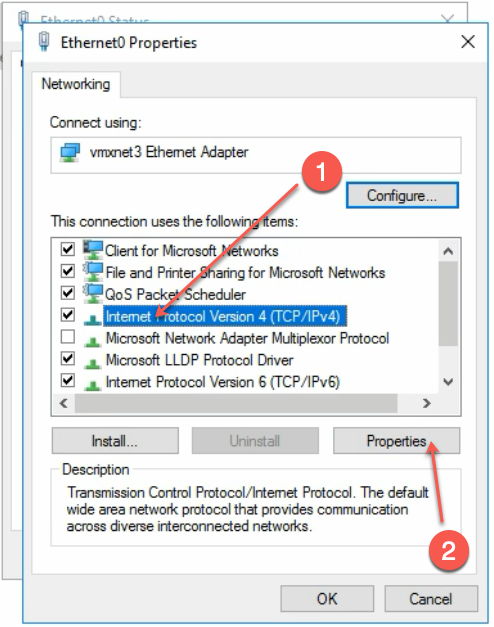
- In the new window, double-click on the Sophos TAP Driver and then click the 'Properties' button.

- Select 'IP version 4 (TCP/IPv4)' and click 'Properties.'
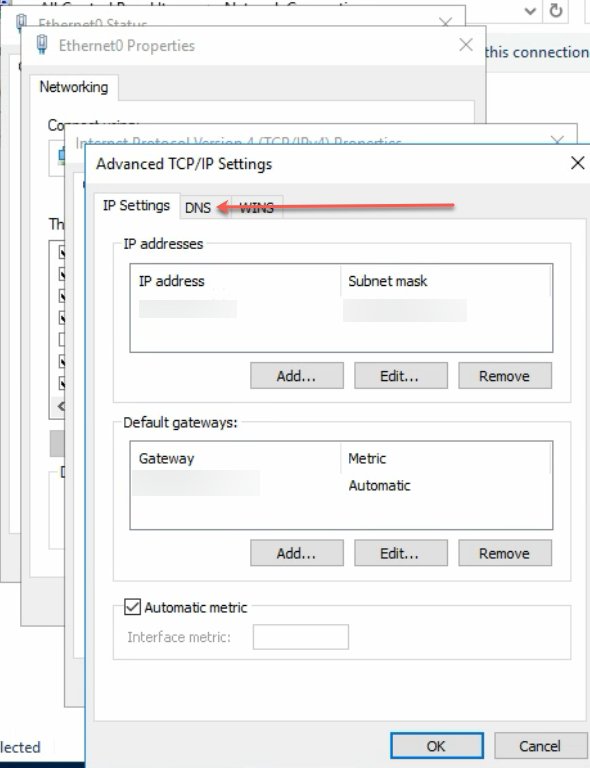
- Click on the Advanced.... button
- Select the DNS Tab by clicking on it
- Enter your active directory DNS domain name into the "DNS suffix for this connection:" box.Your network admin can supply the suffix if you weren't provided it and don't know it
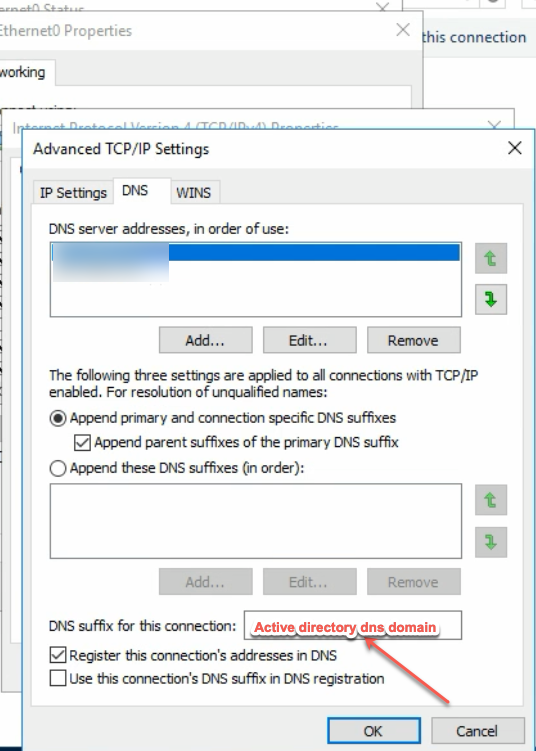
- Click OK Twice, Click Close Twice and then close the network connections window.
- Launch the Windows Network Adapter settings with this sequence of commands