Outlook - Days to Cache

- Step One
We need to get to the “Mail” applet to allow us to make any changes to the Outlook cache. There are two ways we can do this; within Outlook or through Control Panel.
Within Outlook
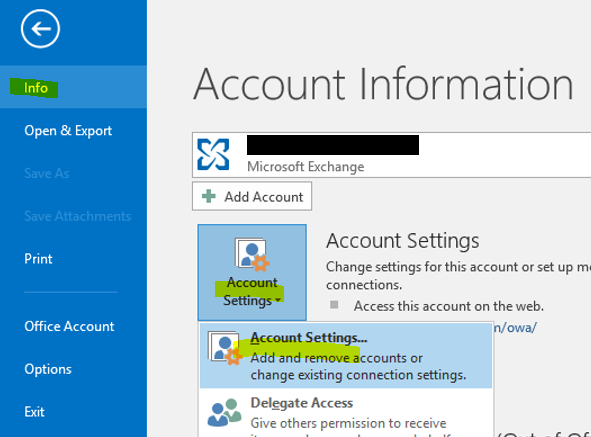
Click on “File” in the top left of Outlook.

Then go on “Account Settings” and then “Account Settings” once more.
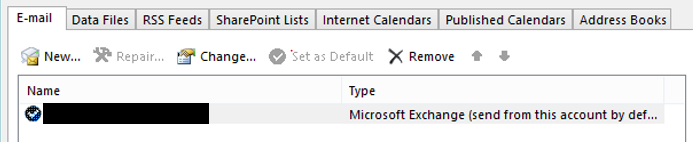
Double click on the mailbox you would like to change the cache limit of.
Through Control Panel
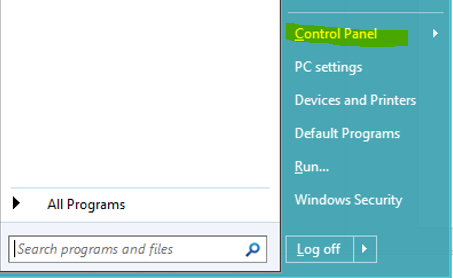
Open up Control Panel by going to the “Start” button in the bottom left or pressing the Windows key.
Find and click on the “Mail” option the year listed will match your installed version.

Then select “Email Accounts“.
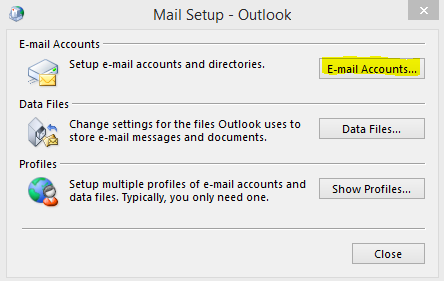
Finally, double click on the email address you’d like to edit the cache of.

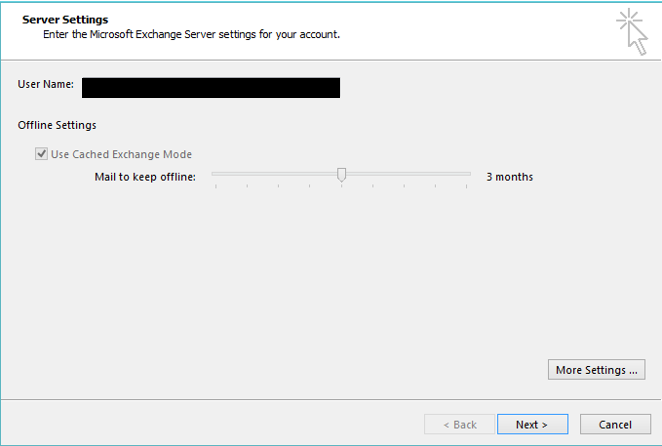
- Step Two
All you have to do now is adjust the slider to the time frame you’d like to change your cache limit to.
- Step Three
If you have Outlook open, you will need to close and reopen it to apply the change. If you did it through Control Panel without Outlook open, the change will apply the next time you open Outlook.
Please Note If you increase your cache limit, your mailbox will need to sync your emails. You can track this progress in the bottom right of Outlook.

You can also opt to turn your cache off. What this does is it gives you a live connection to our Exchange server so you don’t need a cache file. This will show you everything in your mailbox. Please note, however, that this can make your Outlook perform sluggish and, if you lose internet connection, you won’t be able to view any emails.